Next winter project has started(new pics)

Need advice on which oil to use or which tyre best suits you? Share your topic and get help here.
rst steve
Posts: 389
Joined: Sun Jul 30, 2006 8:20 pm
Location: cheadle heath
Contact:

Next winter project has started(new pics)

Post by rst steve »

Well still not completely finished my R1 seat unit yet but only got the link pipes which i am not doing myself so thought i would make a start on the next part of the storm which i dont like. The headlight after searching for a while on flea-bay i came across a Merc bi-xenon headlight which i managed to win for the sum of £40 (over £600 new 8O )it had a few broken brackets but was complete with the ballast, ignitor, bulb and all the wiring. So after a good fight the bi-xenon unit was out and i could start to play. Mananged to get the projector mounted today but have to fire it up to check how much adjustment i have before i finalise the position. May have to make an ally bracket for it yet not sure. The good thibg about bi-xenon is that i can have hi and low beam from one unit and should have a good powerful beam with a perfect cut off so not blinding people with it. Anyway a couple of pics for you.

Image

Image

Image

Will get some more up as it moves along.
Last edited by rst steve on Sat Feb 21, 2009 10:15 pm, edited 1 time in total.
User avatar
RedStormV
Posts: 1372
Joined: Thu Jun 07, 2007 9:41 pm
Location: West Yorks (Bronte Country) - Home of the Negro Lesbian Cornet Players
Contact:

Post by RedStormV »

Sounds like a bargain mate.

Keep us posted re beam pattern etc.

It would be nice to have a headlight on the Storm that's more than 3 candle power
rst steve
Posts: 389
Joined: Sun Jul 30, 2006 8:20 pm
Location: cheadle heath
Contact:

Post by rst steve »

Ok fired it up today and oh my god is this thing bright. So much more light than the standard storm headlight and the beam has a perfect cut off so no blinding other people. Just need to work out the wiring for the high beam now and finish off the install and all should be good. :D
User avatar
bikerpiker
Posts: 1823
Joined: Sun Mar 23, 2008 9:59 pm
Location: Ayrshire - Scotland .

Post by bikerpiker »

It certainly looks the biz 8)
Stevie
rst steve
Posts: 389
Joined: Sun Jul 30, 2006 8:20 pm
Location: cheadle heath
Contact:

Re: Next winter project has started

Post by rst steve »

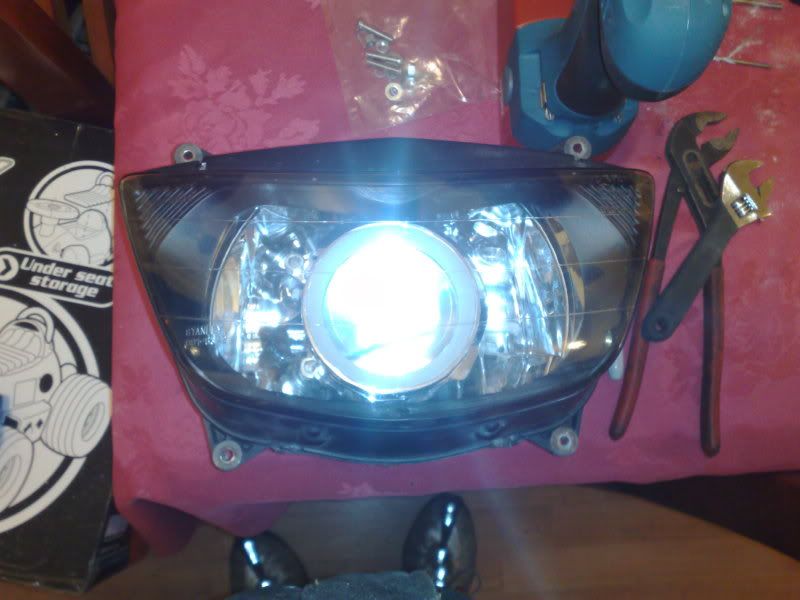
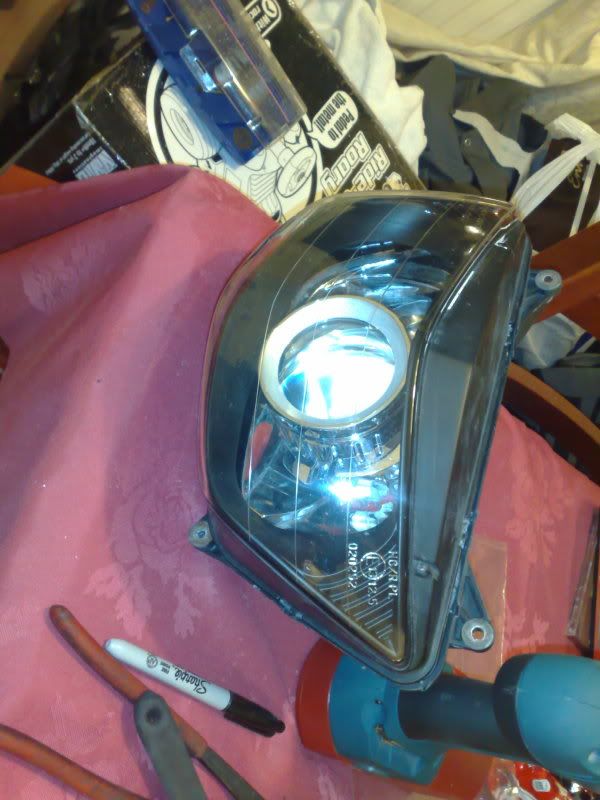
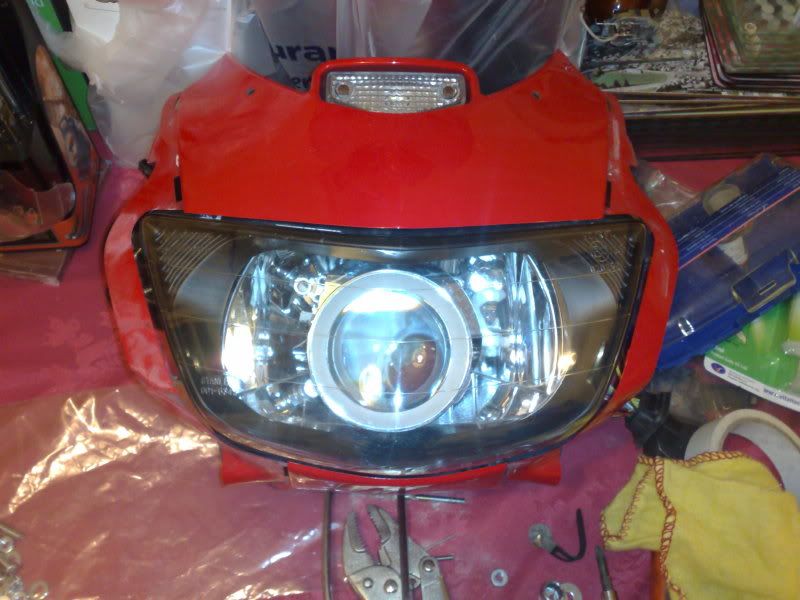
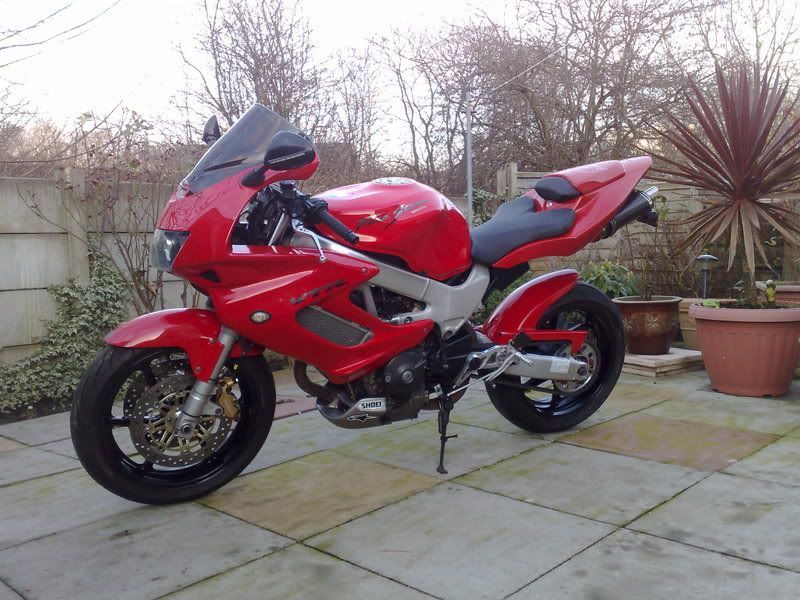
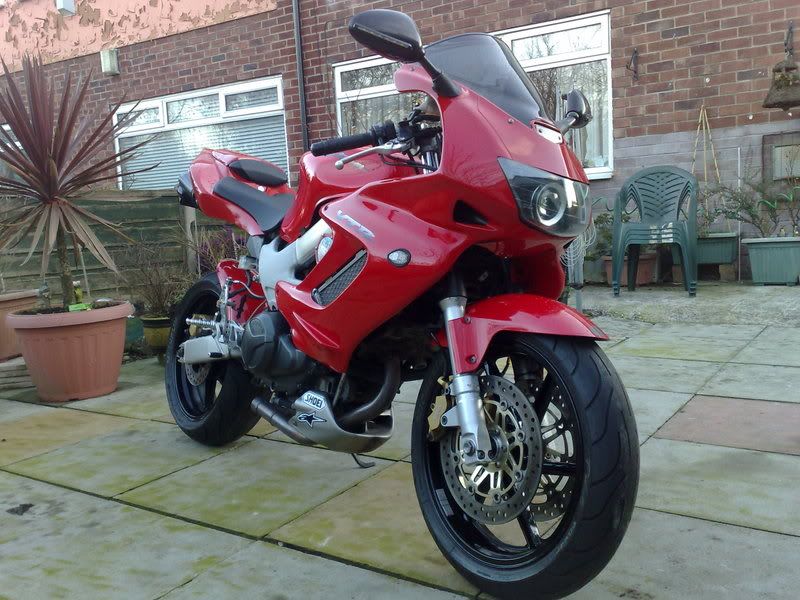
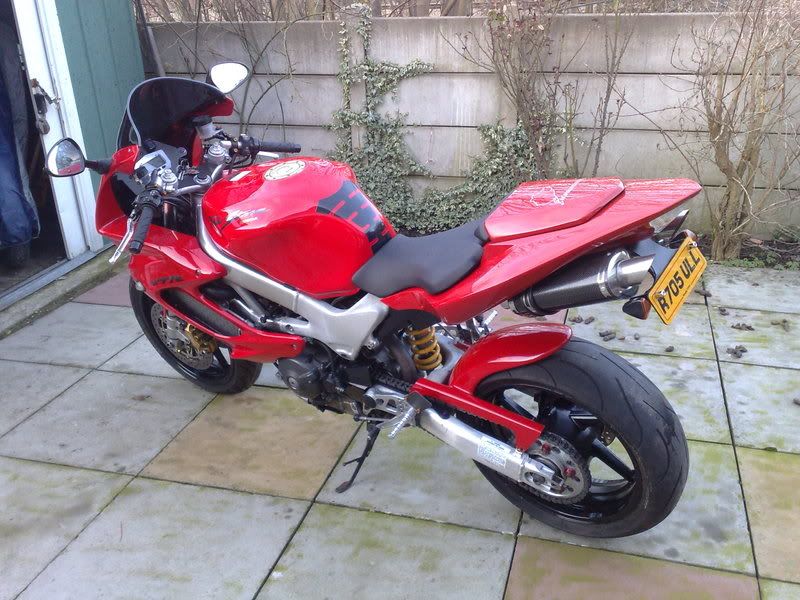
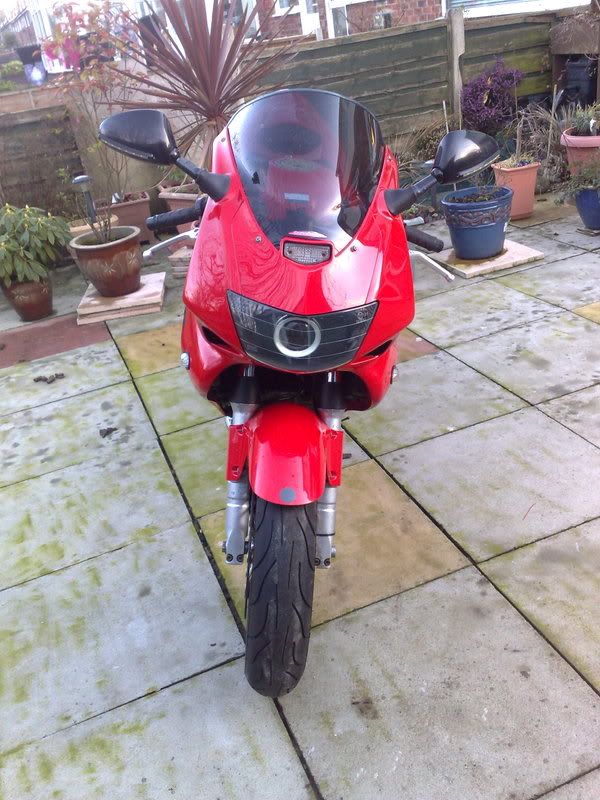
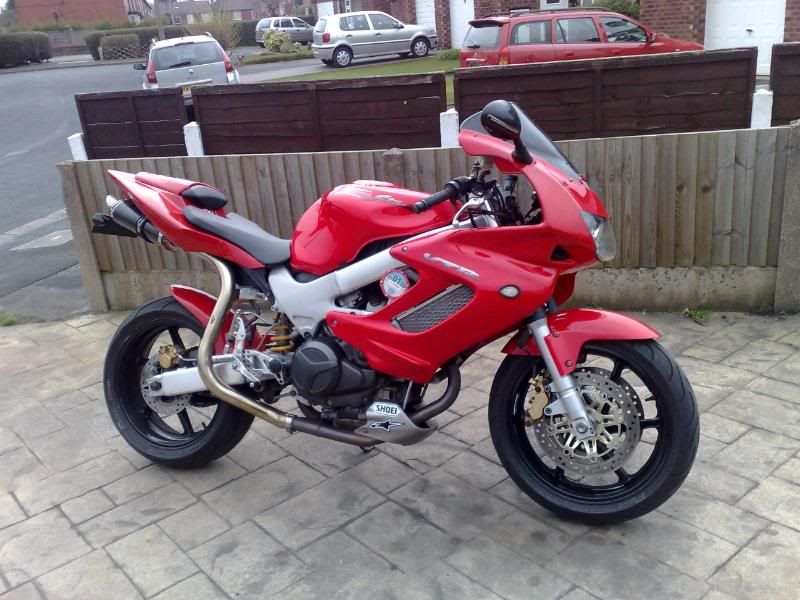
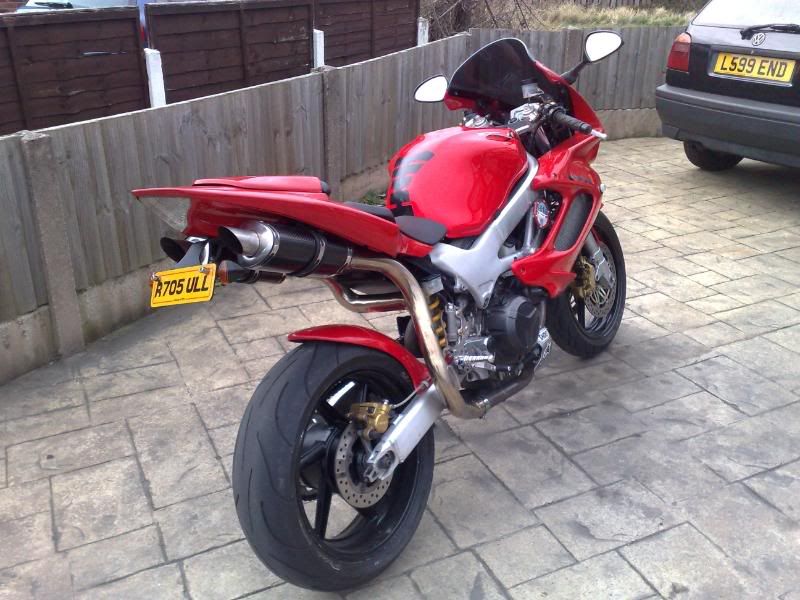
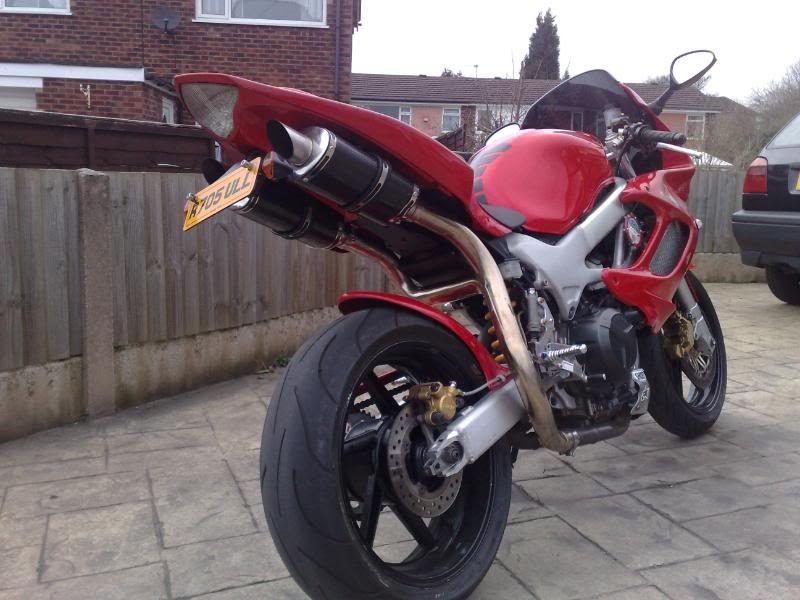
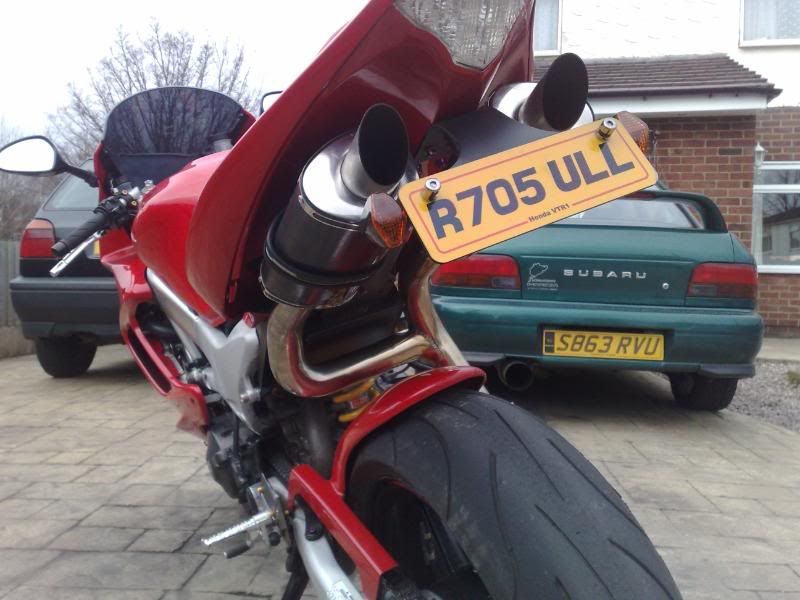
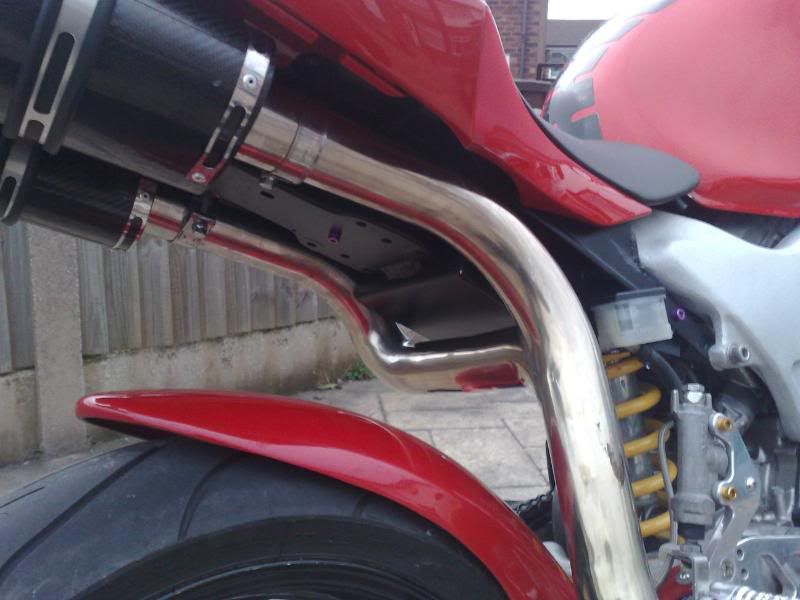
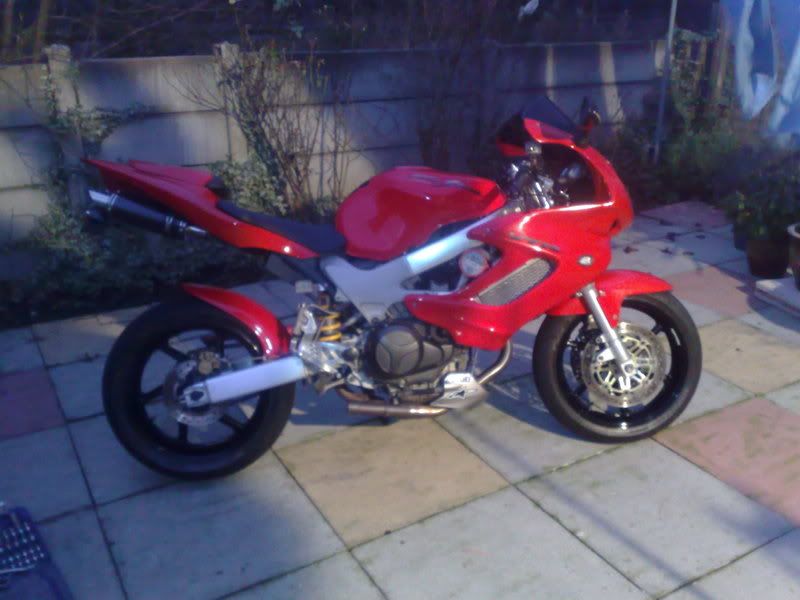
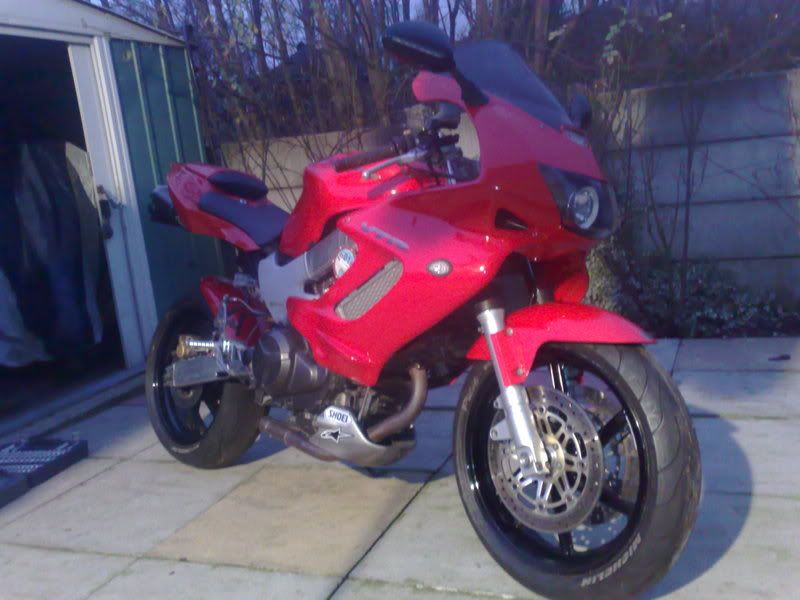
Well dragged the bike out the garage today not done anything to the actual bike for a while so thought while the weather is ok i would get cracking. So on went the fairing and side panels then fitted my new front wheel(thanks Slot)then on went the shock spacer(thanks Warby) and then gave it a bit of a clean and hey presto.

Image

Image

So whats left i hear you say.

Need front brake hoses, link pipes (yes i know its needed these far ages), a shed load of pro bolts and a bit of polishing.

Oh forgot to say looking at some gsxr calipers and still got the braced swingarm in the making. :mrgreen:

Thinking of selling the Pazzo clutch lever to i want a pair of shorty ones. :wink:
User avatar
slot
Posts: 91
Joined: Thu Nov 27, 2008 10:48 pm
Location: Manchester
Contact:

Re: Next winter project has started(new pics)

Post by slot »

Nice one Ste
Finishes the set nicely, needs to be on the road ASAP, as i've had mine running today and need a wing man :lol:
D :wink: ve
Image
viewtopic.php?f=9&t=13114&p=103847#p103847
1998 VTR1000 Castrol-ish (The CCT's have been changed to protect the innocent) :D
1986 YSR250 Project
rst steve
Posts: 389
Joined: Sun Jul 30, 2006 8:20 pm
Location: cheadle heath
Contact:

Re: Next winter project has started(new pics)

Post by rst steve »

Brake hoses arrived today from HEL and they are really nice gone for black hose with black fittings. Got the day off today so jumped straight onto it and got them fitted was a bit of a bugger to bleed but got there in the end. The lever does feel a little firmer but not really gonna tell until i ride it whether they will make a difference. So it's pretty much ready to go and have the link pipes done just need to charge the battery give it a bit of a clean then throw it in the van and let Zorstec loose on it. Then once back bash my credit card on the pro-bolt website and ride the bloody thing lol. Few pics of it as it is now.

Image

Image

Image

Image

Image
tony.mon
Posts: 16022
Joined: Wed Jul 25, 2007 10:46 pm
Location: Norf Kent

Re: Next winter project has started(new pics)

Post by tony.mon »

Hey, what have you done with your mirrors?
Looks like a conversion with indicators?
It's not falling off, it's an upgrade opportunity.
rst steve
Posts: 389
Joined: Sun Jul 30, 2006 8:20 pm
Location: cheadle heath
Contact:

Re: Next winter project has started(new pics)

Post by rst steve »

Caught me yes i have done something with the mirrors but i need to video them to show them off properly which i will do when the pipes are done.

Timbo i keep looking at single siders on ebay the urge to do the conversion is large but i want to do something different than the VFR one was thinking maybe save up and get someone like Spondon to make me a complete one off so its a bit more special. Also i have got an old cbr600 rad if you need one its a bit battered but does'nt leak may be some use as a mock up item. You can have it if it will help you out drop me a pm with your address and i will get it to you. :D
Collywog19
Posts: 108
Joined: Thu Jul 24, 2008 9:21 pm
Location: Durham
Contact:

Re: Next winter project has started(new pics)

Post by Collywog19 »

Looks great :)

Col
Bikes ftw!
User avatar
sirch345
Site Admin
Posts: 21856
Joined: Mon Aug 25, 2003 10:35 pm
Location: The West Country.

Re: Next winter project has started(new pics)

Post by sirch345 »

It's looking good Steve :!: 8) nice to see it all coming together now, looking forward to seeing the Zorstec magic :!: I bet you are too :D

Chris.
rst steve
Posts: 389
Joined: Sun Jul 30, 2006 8:20 pm
Location: cheadle heath
Contact:

Re: Next winter project has started(new pics)

Post by rst steve »

Its back :D :twisted: 8)
rst steve
Posts: 389
Joined: Sun Jul 30, 2006 8:20 pm
Location: cheadle heath
Contact:

Re: Next winter project has started(new pics)

Post by rst steve »

Ok first off a big thank you to Andy at Zorstec what a guy dropped the bike off on Friday morning and went back today at about 12 and it was done. Had a fun ride back from Bradford to Manchester as a shake down run as this is the first time back on the road since last year so took it easy. The bike felt really good the Hel brake lines have made a noticable differance much firmer lever now. The shock spacer i dont think has made a massive differance or i could'nt tell the differance not really been throwing it round though yet. Only problems i have are a knackered battery, one of the leds on the dash has stopped working and the gear indicator needs re setting so not much really. Roll on summer oh and still got a braced swingarm to sort out.

Image

Image

Image

Image

Image
8)
tony.mon
Posts: 16022
Joined: Wed Jul 25, 2007 10:46 pm
Location: Norf Kent

Re: Next winter project has started(new pics)

Post by tony.mon »

Looking good!
Hope you don't toast your buns on the new pipes... Best not wear shorts, IMHO :D

So I'm still interested in where the wires go for your mirrors- although if it looks easy I'll sulk, as I've already sold my standard ones :sad2
It's not falling off, it's an upgrade opportunity.
rst steve
Posts: 389
Joined: Sun Jul 30, 2006 8:20 pm
Location: cheadle heath
Contact:

Re: Next winter project has started(new pics)

Post by rst steve »

Ok the mirrors forgot about them. Really easy went to the local car stick on bits shop and found some l.e.d strips that chase from one end to the other when you turn them on and are encased in rubber. Stuck them to the mirrors and drilled a tiny hole where the wire goes into the mirror. Then on the bottom of the mirror there is a vent hole so fished the wires though that hole then ran them down the mirror stem at the moment they are just hidden with black insulation tape until i can find some heatsink big enough to go over the stem. Then drilled a hole in the mounting block so the wire could go though that and come out inside the fairing. Then wired them to the front fairing indicators. Will go and get a video of them now and try to post it this may take a while though as i'm not the greatest computer person. :D
Post Reply