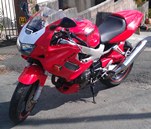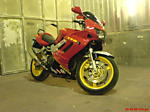
The right fairing had been down the road witth deep scaring and a crack at the indicator hole. The tail until was also cracked, scared and had holes drilled for mounting indicators. Both tail and rt fairing hasd been painted with go faster hammerite black stripey sections. Missing from the before pics is a perfect condition left fairing apart from a screen strut which had snapped cleanly off that he kindly threw in.

Thought I'd give the Plastex plastic repair system a go - ebay £18 -- and got playing with resin powder and lquid activator liquid after prepping the damaged areas with a compressed air powered die grinder and smaller drremel for fiddly areas to remove surrounding paint and expose raw abs plastic for a good key to the repairs Used the moulding bar in the Plastex kit to replicate a missing tail tab, and incorporated some fine glass fibre matt for added strength. Did the same as reinforcement to where the plastic had cracked and as a bridge on areas which were damaged and gapped.

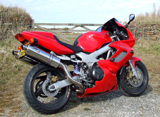
The advatages of Plastex is that is cures much more quickly than epoxy resin, so it can be ground down in an hour or two and then flexible bumper filler can be used to fill the outside and be sanded with wet&dry - a sanding block is important to ensure a flat finish. Some plastic primer spray is then applied to show any imperfections which need further filling, or a spray with some high-build primer. The broken left fairing is as strong as new and just needs in warmer weather finishing with a final coat and lacquering.