
Very interesting, keep up the good work
And so it begins !!!!
Re: And so it begins !!!!
The extra port is for a front vacuum tube allowing you to balance the carbs mate.
Very interesting, keep up the good work
Very interesting, keep up the good work
Carpe diem, quam minimum credula postero
F3, 954 USD front, K Tech springs, Braced swinger, Penske shock, Six spoke Mockesini wheels, Harris rearsets, QaT, Flywheel diet!, A&L stacks, stick coils, K&N, FP Ti jets, lashings of Ti & CF
F3, 954 USD front, K Tech springs, Braced swinger, Penske shock, Six spoke Mockesini wheels, Harris rearsets, QaT, Flywheel diet!, A&L stacks, stick coils, K&N, FP Ti jets, lashings of Ti & CF
-
lloydie

- Posts: 20923
- Joined: Mon Jan 17, 2011 11:16 pm
- Location: In the garage somewhere in Coventry
Re: And so it begins !!!!
Some nice bent valves  .
.
Keep up the good work and keep posting your progress
.Keep up the good work and keep posting your progress
Re: And so it begins !!!!
What im agonising about is if the head that was on it is ok
Or if i have a slightly bent valve after a bit of a touch
Brian
Or if i have a slightly bent valve after a bit of a touch
Brian
Re: And so it begins !!!!
Thanks chris.
I presume if i put a piece of pipe on it thar i will have to blank it off some way?
Brian
I presume if i put a piece of pipe on it thar i will have to blank it off some way?
Brian
Re: And so it begins !!!!
Now you have stripped the head down that far, if you turn the head upside down with the valves in it, fill the recess in the head with petrol (no smoking mindBrianC wrote:What im agonising about is if the head that was on it is ok
Or if i have a slightly bent valve after a bit of a touch
Brian
Chris.
Re: And so it begins !!!!
Thanks chris
Next time i can get in garage i'll give that a go
Brian
Next time i can get in garage i'll give that a go
Brian
Re: And so it begins !!!!
Just run a piece of tube up under the seat and stick a bolt, or some folk have used a golf tee, in the end.BrianC wrote:Thanks chris.
I presume if i put a piece of pipe on it thar i will have to blank it off some way?
Brian
Carpe diem, quam minimum credula postero
F3, 954 USD front, K Tech springs, Braced swinger, Penske shock, Six spoke Mockesini wheels, Harris rearsets, QaT, Flywheel diet!, A&L stacks, stick coils, K&N, FP Ti jets, lashings of Ti & CF
F3, 954 USD front, K Tech springs, Braced swinger, Penske shock, Six spoke Mockesini wheels, Harris rearsets, QaT, Flywheel diet!, A&L stacks, stick coils, K&N, FP Ti jets, lashings of Ti & CF
Re: And so it begins !!!!
BrianC wrote:Thanks chris.
I presume if i put a piece of pipe on it thar i will have to blank it off some way?
Brian
Yes you're spot on you will need to bank it off, I have a golf tee in mine. It's well worth doing though before the carbs go back on when you start the rebuild, as it makes balancing the carbs a lot easier than trying to screw an adaptor in when it's all back together.
If you're not going to use Tony's head you could transfer the brass adaptor to the one you are going to use, just don't over tighten it as being made of brass it's easy to shear it off. I put a touch of thread lock on mine. Then you want a pipe for the rear cylinder, I tee'd into the vacuum pipe for the petrol tap, then you're good to go when balancing the carbs
Chris.
Re: And so it begins !!!!
Hi Brian, That's a good bit of advice there from Chris (Sirch345) much easier ....anyway I too have been checking the needle bearings in the rear suspension dog bone, and here is a little tip for you, put the bolt in from the right hand side (on the small end of the dog bone) because on my bike the bolt had been put in from the left by Honda and once the exhaust is fitted, the bolt fouled on the exhaust when you tried to remove it.it now means I can remove the dog bone by undoing just two bolts and without disturbing the exhaust. Hope that's clear....
Keep up the good work .chrisc
Keep up the good work .chrisc
Re: And so it begins !!!!
So the micrometer and the extensive feeler gauges have arrived.
Just need the valve compressor now and then i can check those shims on the head i got from tony mon and decide of i can use that head.
Also going to remove the valve that looks to have grazed the piston on the original head.
I m hoping by visual inspection that i can see if there is any damage. Also need to check the valve clearence properly on that inlet valve - is seemed to measure just out of tolerance when i looked.
Hopefully i can get some work done tomorrow
Brian
-
bigtwinthing

- Posts: 5577
- Joined: Mon Dec 17, 2012 7:52 pm
- Location: Hampshire
Re: And so it begins !!!!
ya doing some great work there.
missing the noise, not the vibes. However never say never!
Re: And so it begins !!!!
THE FRUSTRATION GROWS !!!!!!!!!!
Managed to get back in the garage today armed with my new tools ie a full set of metric feeler gauges, my new micrometer and valve compressor.
Staring with the front head that was originally on the bike.
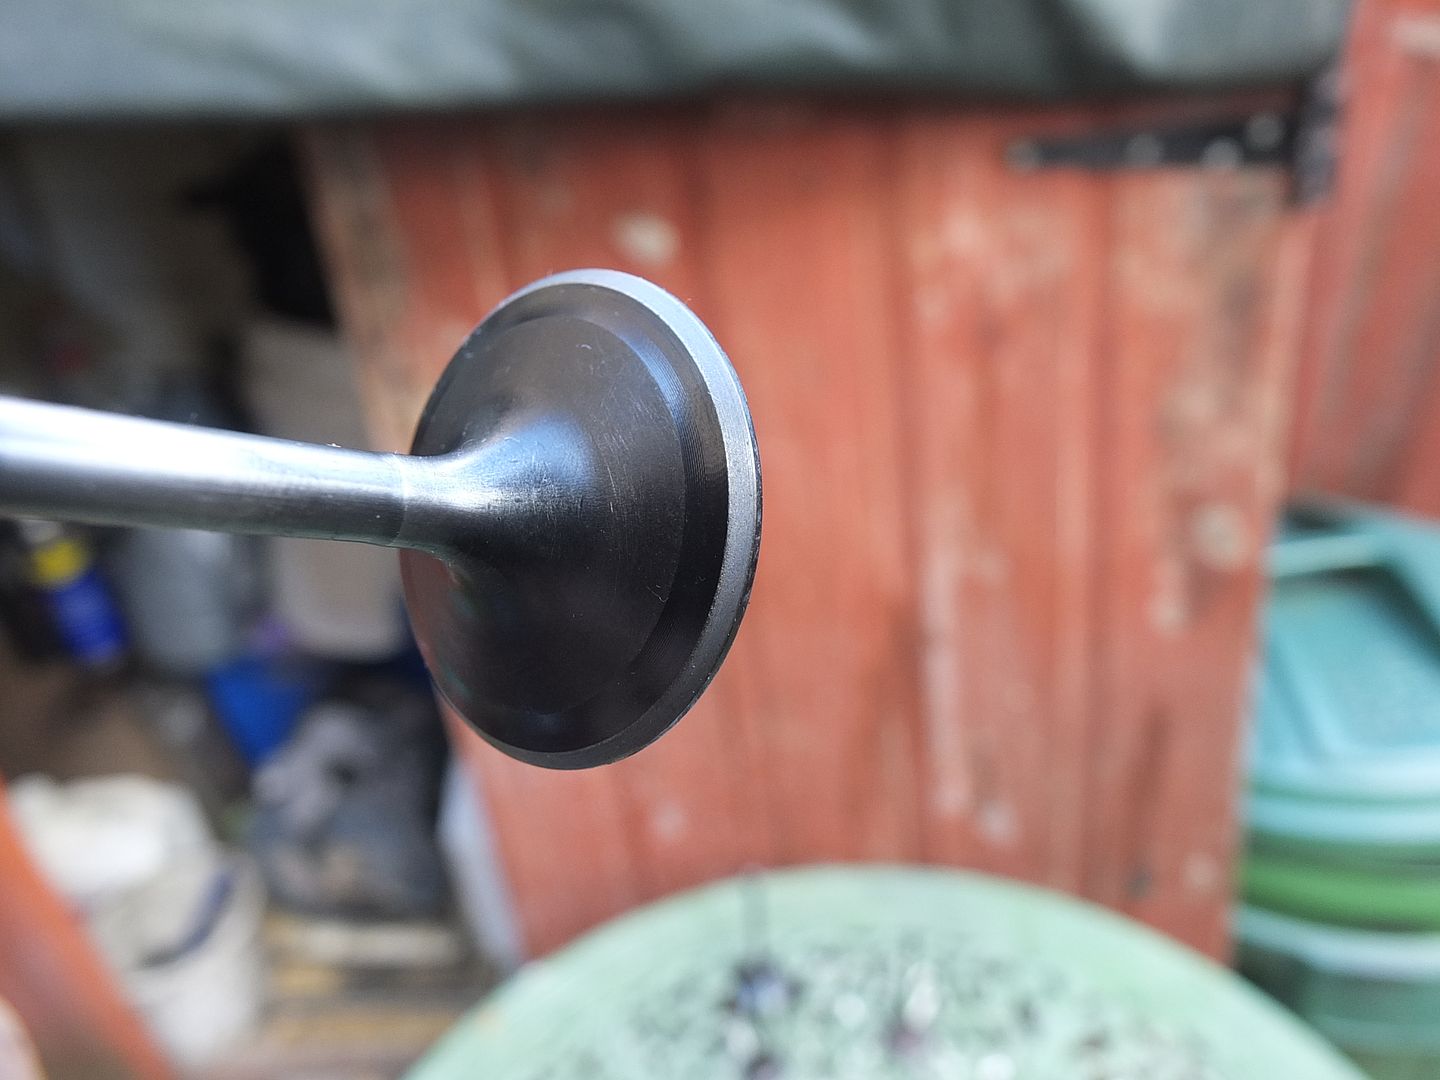
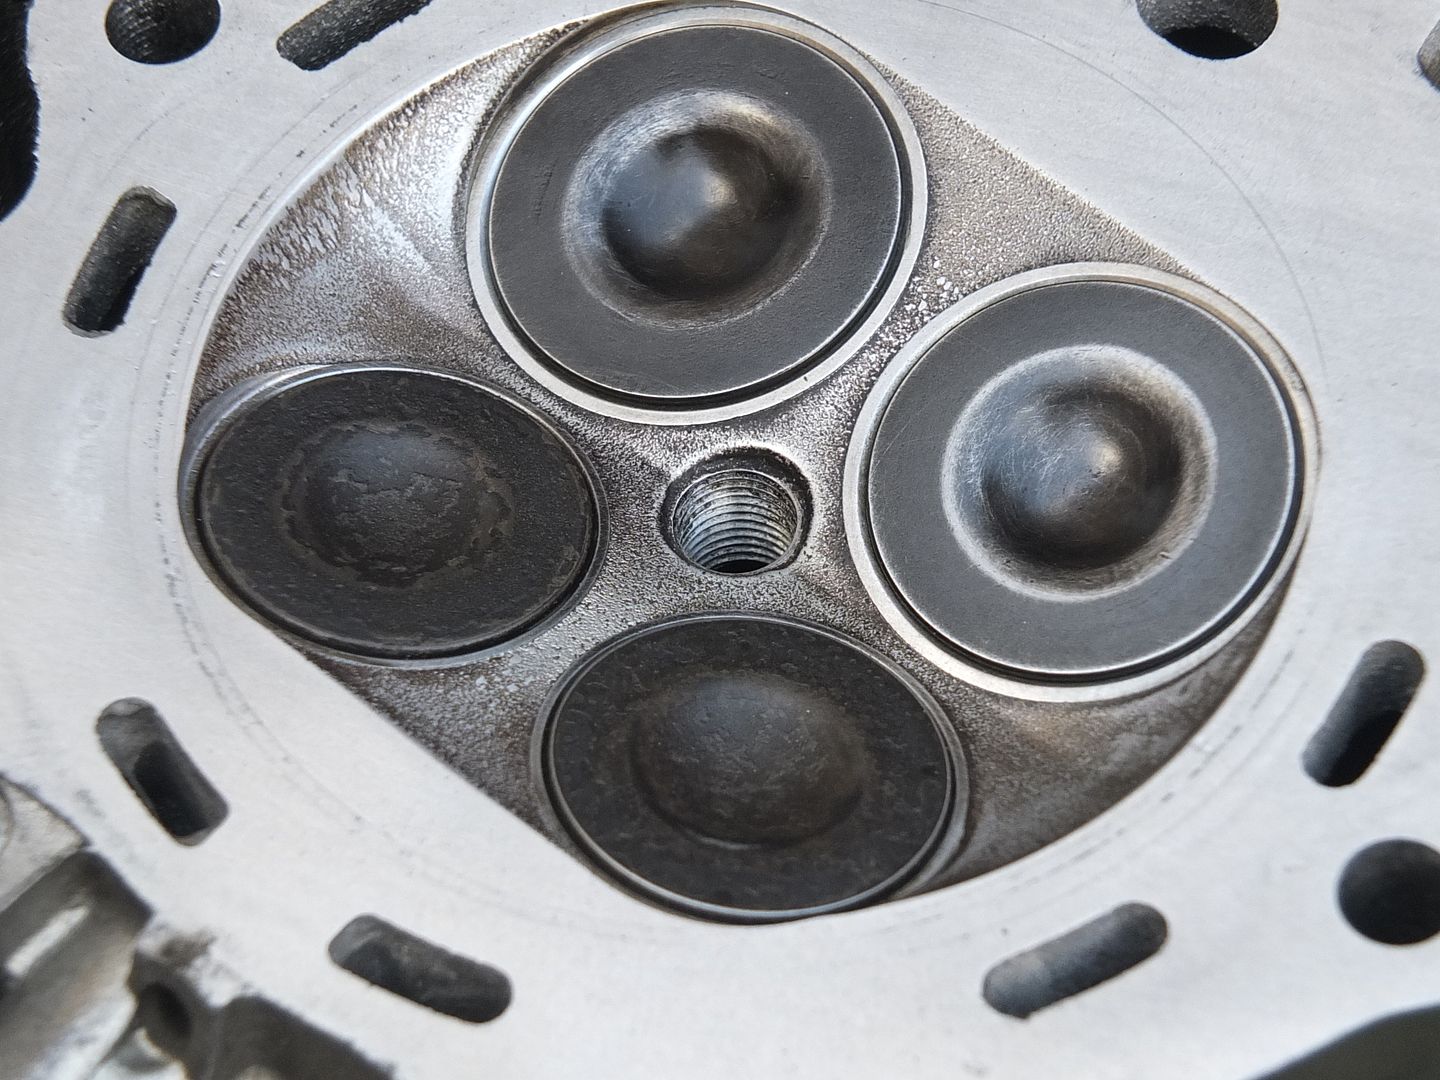
I inverted the head and filled the recess with petrol, just enough to cover the valves and sure enough some leaked out through the inlet port. Someone had suggested this as a method for seeing if the valves might be bent. So I used my new valve compressor and I have removed the valves, but just by visual inspection I cant see any noticeable bend. How do I check this? And is my fix just as simple as putting two new valves in - or might the guides be damaged??
Moving on to the head that I got from Tony Mon
Just to recap, once I fitted the camshafts and covers the valve clearances were for the inlet side were fine, but I cant sort out the exhaust side. Even with NO bucket shims the valve clearance is only 1.3mm and taking the smallest allowable valve gap of 0.28, means a shim of 1.02 - the smallest available shims are 1.2.
The bucket shims that were in teh buckets were 2.4 for both valves, so its not surprising I couldn't get a gap !!!!
This is a picture of the top of the exhaust valves with the buckets and shims removed
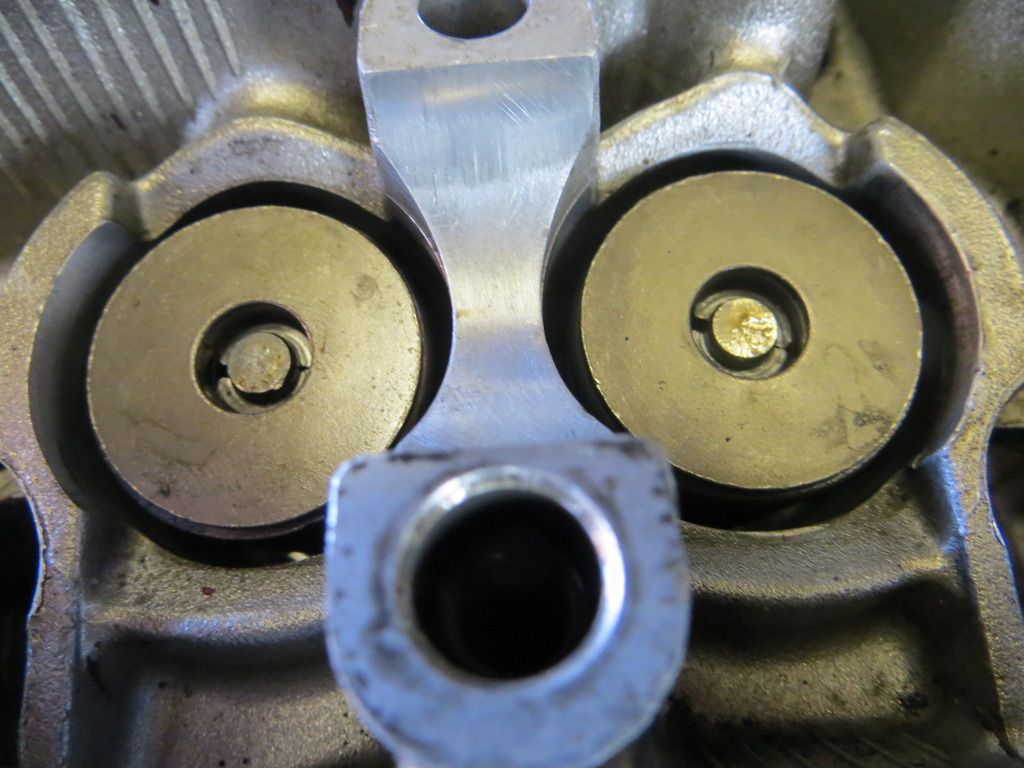
So there we have it - Im completely stalled and needing some skilled input from you guys
Brian
Managed to get back in the garage today armed with my new tools ie a full set of metric feeler gauges, my new micrometer and valve compressor.
Staring with the front head that was originally on the bike.
I inverted the head and filled the recess with petrol, just enough to cover the valves and sure enough some leaked out through the inlet port. Someone had suggested this as a method for seeing if the valves might be bent. So I used my new valve compressor and I have removed the valves, but just by visual inspection I cant see any noticeable bend. How do I check this? And is my fix just as simple as putting two new valves in - or might the guides be damaged??
Moving on to the head that I got from Tony Mon
Just to recap, once I fitted the camshafts and covers the valve clearances were for the inlet side were fine, but I cant sort out the exhaust side. Even with NO bucket shims the valve clearance is only 1.3mm and taking the smallest allowable valve gap of 0.28, means a shim of 1.02 - the smallest available shims are 1.2.
The bucket shims that were in teh buckets were 2.4 for both valves, so its not surprising I couldn't get a gap !!!!
This is a picture of the top of the exhaust valves with the buckets and shims removed

So there we have it - Im completely stalled and needing some skilled input from you guys
Brian
Re: And so it begins !!!!
Bit of an update!!!!
Working with the original head. - i removed the two inlet vavles and replaced them with two spare ones from another (rear) head. - just done a test with petrol in the head and no leakage !!!!!
Leaving it a bit longer and will report back soon !!
Still doesnt explsin the issues with the head i got from tony , but one step at a time !!!!
Brian
Re: And so it begins !!!!
Further update!!!!!
There was no leakage from the petrol test, so i went on to reinstall the camshafts and caps and just measured the valve gaps and they are within specification.
So unless anyone can tell me im smoking rope with these latest advances, it could be full speed ahead !!!!
Still no further ideas on whats going wrong with the head from tony !!!
Brian

Re: And so it begins !!!!
Nice work Brian. OK how much petrol leaked out and was there any pressure from the springs holding the valve open ever so slightly. There may even be some pitting around the valve and the seat allowing some fuel past or a very slight bend in the mushroom not viable. Anyway you seem to be happy with the other valves. Now the next step depends on how far you want to take things while you have the head off. Personally I would give the head and ports a good clean up and de-coke. Clean up the piston crown lap the valves in a little with some valve grinding paste and put it all back together. Make sure the surface on the block and the base of the head is all cleaned up ready for a new head gasket.
Be careful of the valve stem oil seals that sit under the springs around on top of the valve guide. Don't be tempted to remove them or replace them unless you buy original Honda ones, there is a fraction of a difference between inlets and exhaust. Measure and set the valve clearances with the head off but don't forget this is approximate as they will need doing again once all back together and on the bike. Getting the collets to sit around the valve stem can be a little fiddly so use a dab of grease on them and make sure they seat correctly in the cap when gently releasing the spring pressure.
Be careful of the valve stem oil seals that sit under the springs around on top of the valve guide. Don't be tempted to remove them or replace them unless you buy original Honda ones, there is a fraction of a difference between inlets and exhaust. Measure and set the valve clearances with the head off but don't forget this is approximate as they will need doing again once all back together and on the bike. Getting the collets to sit around the valve stem can be a little fiddly so use a dab of grease on them and make sure they seat correctly in the cap when gently releasing the spring pressure.
==============================Enter the Darkside